Table of contents
Browse categories
Browse authors
 AL
ALAlessia Longo
 AH
AHAl Hoge
 BJ
BJBernard Jerman
 BČ
BČBojan Čontala
 CF
CFCarsten Frederiksen
 CS
CSCarsten Stjernfelt
 DC
DCDaniel Colmenares
 DF
DFDino Florjančič
 EB
EBEmanuele Burgognoni
 EK
EKEva Kalšek
Franck Beranger
 GR
GRGabriele Ribichini
Glacier Chen
 GS
GSGrant Maloy Smith
 HB
HBHelmut Behmüller
 IB
IBIza Burnik
 JO
JOJaka Ogorevc
 JR
JRJake Rosenthal
 JS
JSJernej Sirk
 JM
JMJohn Miller
 KM
KMKarla Yera Morales
 KD
KDKayla Day
 KS
KSKonrad Schweiger
Leslie Wang
 LS
LSLoïc Siret
 LJ
LJLuka Jerman
 MB
MBMarco Behmer
 MR
MRMarco Ribichini
 ML
MLMatic Lebar
 MS
MSMatjaž Strniša
 ME
MEMatthew Engquist
 ME
MEMichael Elmerick
Nicolas Phan
 OM
OMOwen Maginity
Patrick Fu
 PR
PRPrimož Rome
 RM
RMRok Mesar
 RS
RSRupert Schwarz
 SA
SASamuele Ardizio
 SK
SKSimon Kodrič
 SG
SGSøren Linnet Gjelstrup
 TH
THThorsten Hartleb
 TV
TVTirin Varghese
 UK
UKUrban Kuhar
Valentino Pagliara
 VS
VSVid Selič
 WK
WKWill Kooiker
Integrating Scanivalve Pressure Scanners with Dewesoft DAQ Systems

Michael Elmerick
February 6, 2025
Scanivalve is a leading manufacturer of intelligent Ethernet pressure scanners known for its high-channel-count devices, built-in analog-to-digital conversion, and real-time data streaming capabilities. To facilitate seamless integration, Dewesoft has developed a specialized DewesoftX plugin that supports several Scanivalve pressure scanner models, including the DSA-5000, MPS-4264, and legacy DSA-3217-PTP.
Supported Scanivalve models


With our user-friendly plugin, DewesoftX software supports one or more Scanivalve modules. Their built-in Ethernet interfaces allow direct connections to your PC or via a network switch, offering flexible setup options.
Connecting Scanivalve to your Dewesoft DAQ system
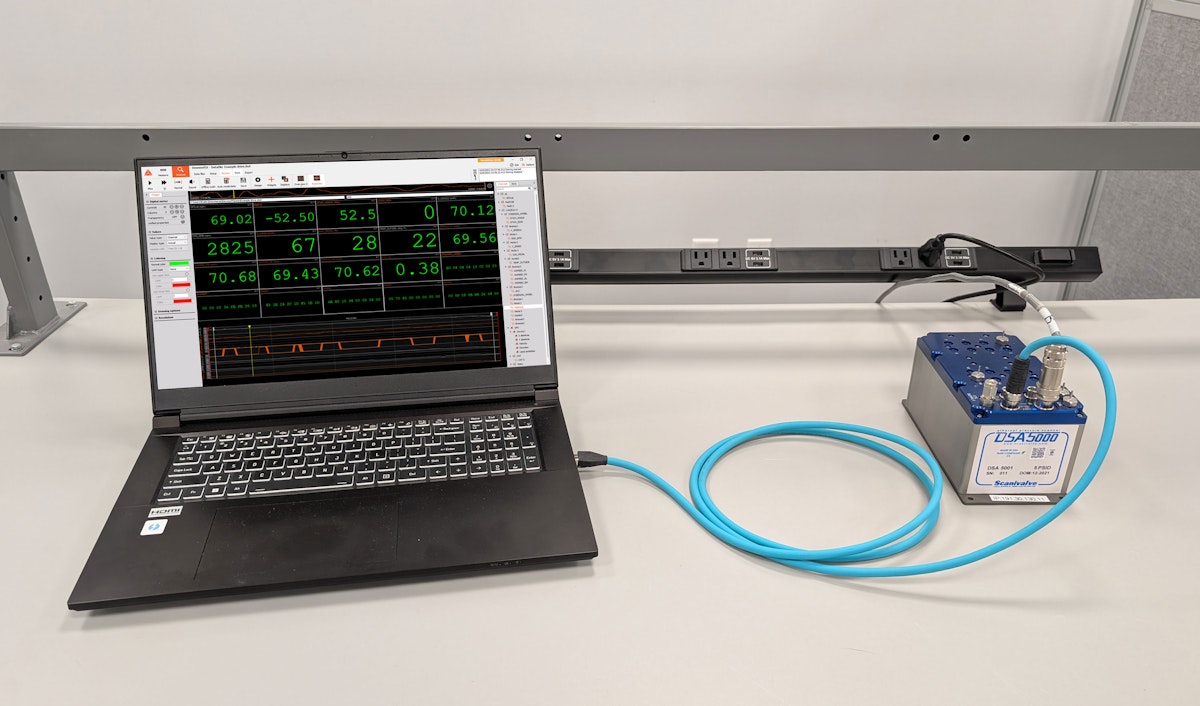
The setup begins by physically connecting the Scanivalve pressure scanners to your DAQ system. You can connect the devices directly to your PC’s Ethernet port or through an Ethernet switch, as shown below:


Software configuration
After connecting the hardware, install the necessary software license and configure the devices within DewesoftX. Follow these steps:
Add Devices in Project Settings. Open the project settings in DewesoftX, select "Add Device," and input the details for each Scanivalve unit.


Configure Device Parameters. Enter the model numbers and IP addresses for all connected Scanivalve devices. Once configured, their status will change to "connected."
Access Channel Settings. Once connected, a new icon will appear on the DewesoftX taskbar. Click it to open the channel setup screen for all connected Scanivalve devices.
Enter the license. Enter the software license after connecting one or more Scanivalves to your DAQ system computer.
Close the project settings, and a new icon will appear on the taskbar near the top of the DewesoftX setup screen, as shown in the figure below:


Clicking this icon opens the channel settings for all connected Scanivalve devices. Here, you can select the channels you want to use in your setup, rename them, assign specific colors to each channel, change the engineering units and each unit's sample rate, and send the CAL Z command to the unit to perform an internal zeroing calibration.


Channel configuration options
The channel setup screen allows you to:
Select and rename channels.
Assign specific colors to each channel.
Adjust engineering units and acquisition rates.
Send the CAL Z command for internal zeroing calibration.
Once the configuration is complete, pressure data can be displayed, stored, and analyzed in DewesoftX alongside other analog and digital channels.
Scanivalve pressure measurement
Integrating Scanivalve’s unique Ethernet-connected pressure scanners with DewesoftX DAQ software adds value to any measurement system. Scanivalve pressure scanners are used for pressure and temperature measurement, especially for aerospace and automotive aerodynamic tests, gas turbine testing, compressor testing, and other turbomachinery tests, flow measurement across an orifice, wind turbine aerodynamic validations, etc.
DewesoftX software comes with every Dewesoft DAQ system. Besides the Scanivalve hardware, only the software plugin described here is required. You can order the Scanivalve plugin from the Dewesoft website. A user manual is available on our website and in the local help manual installed with DewesoftX.